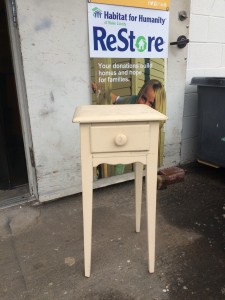
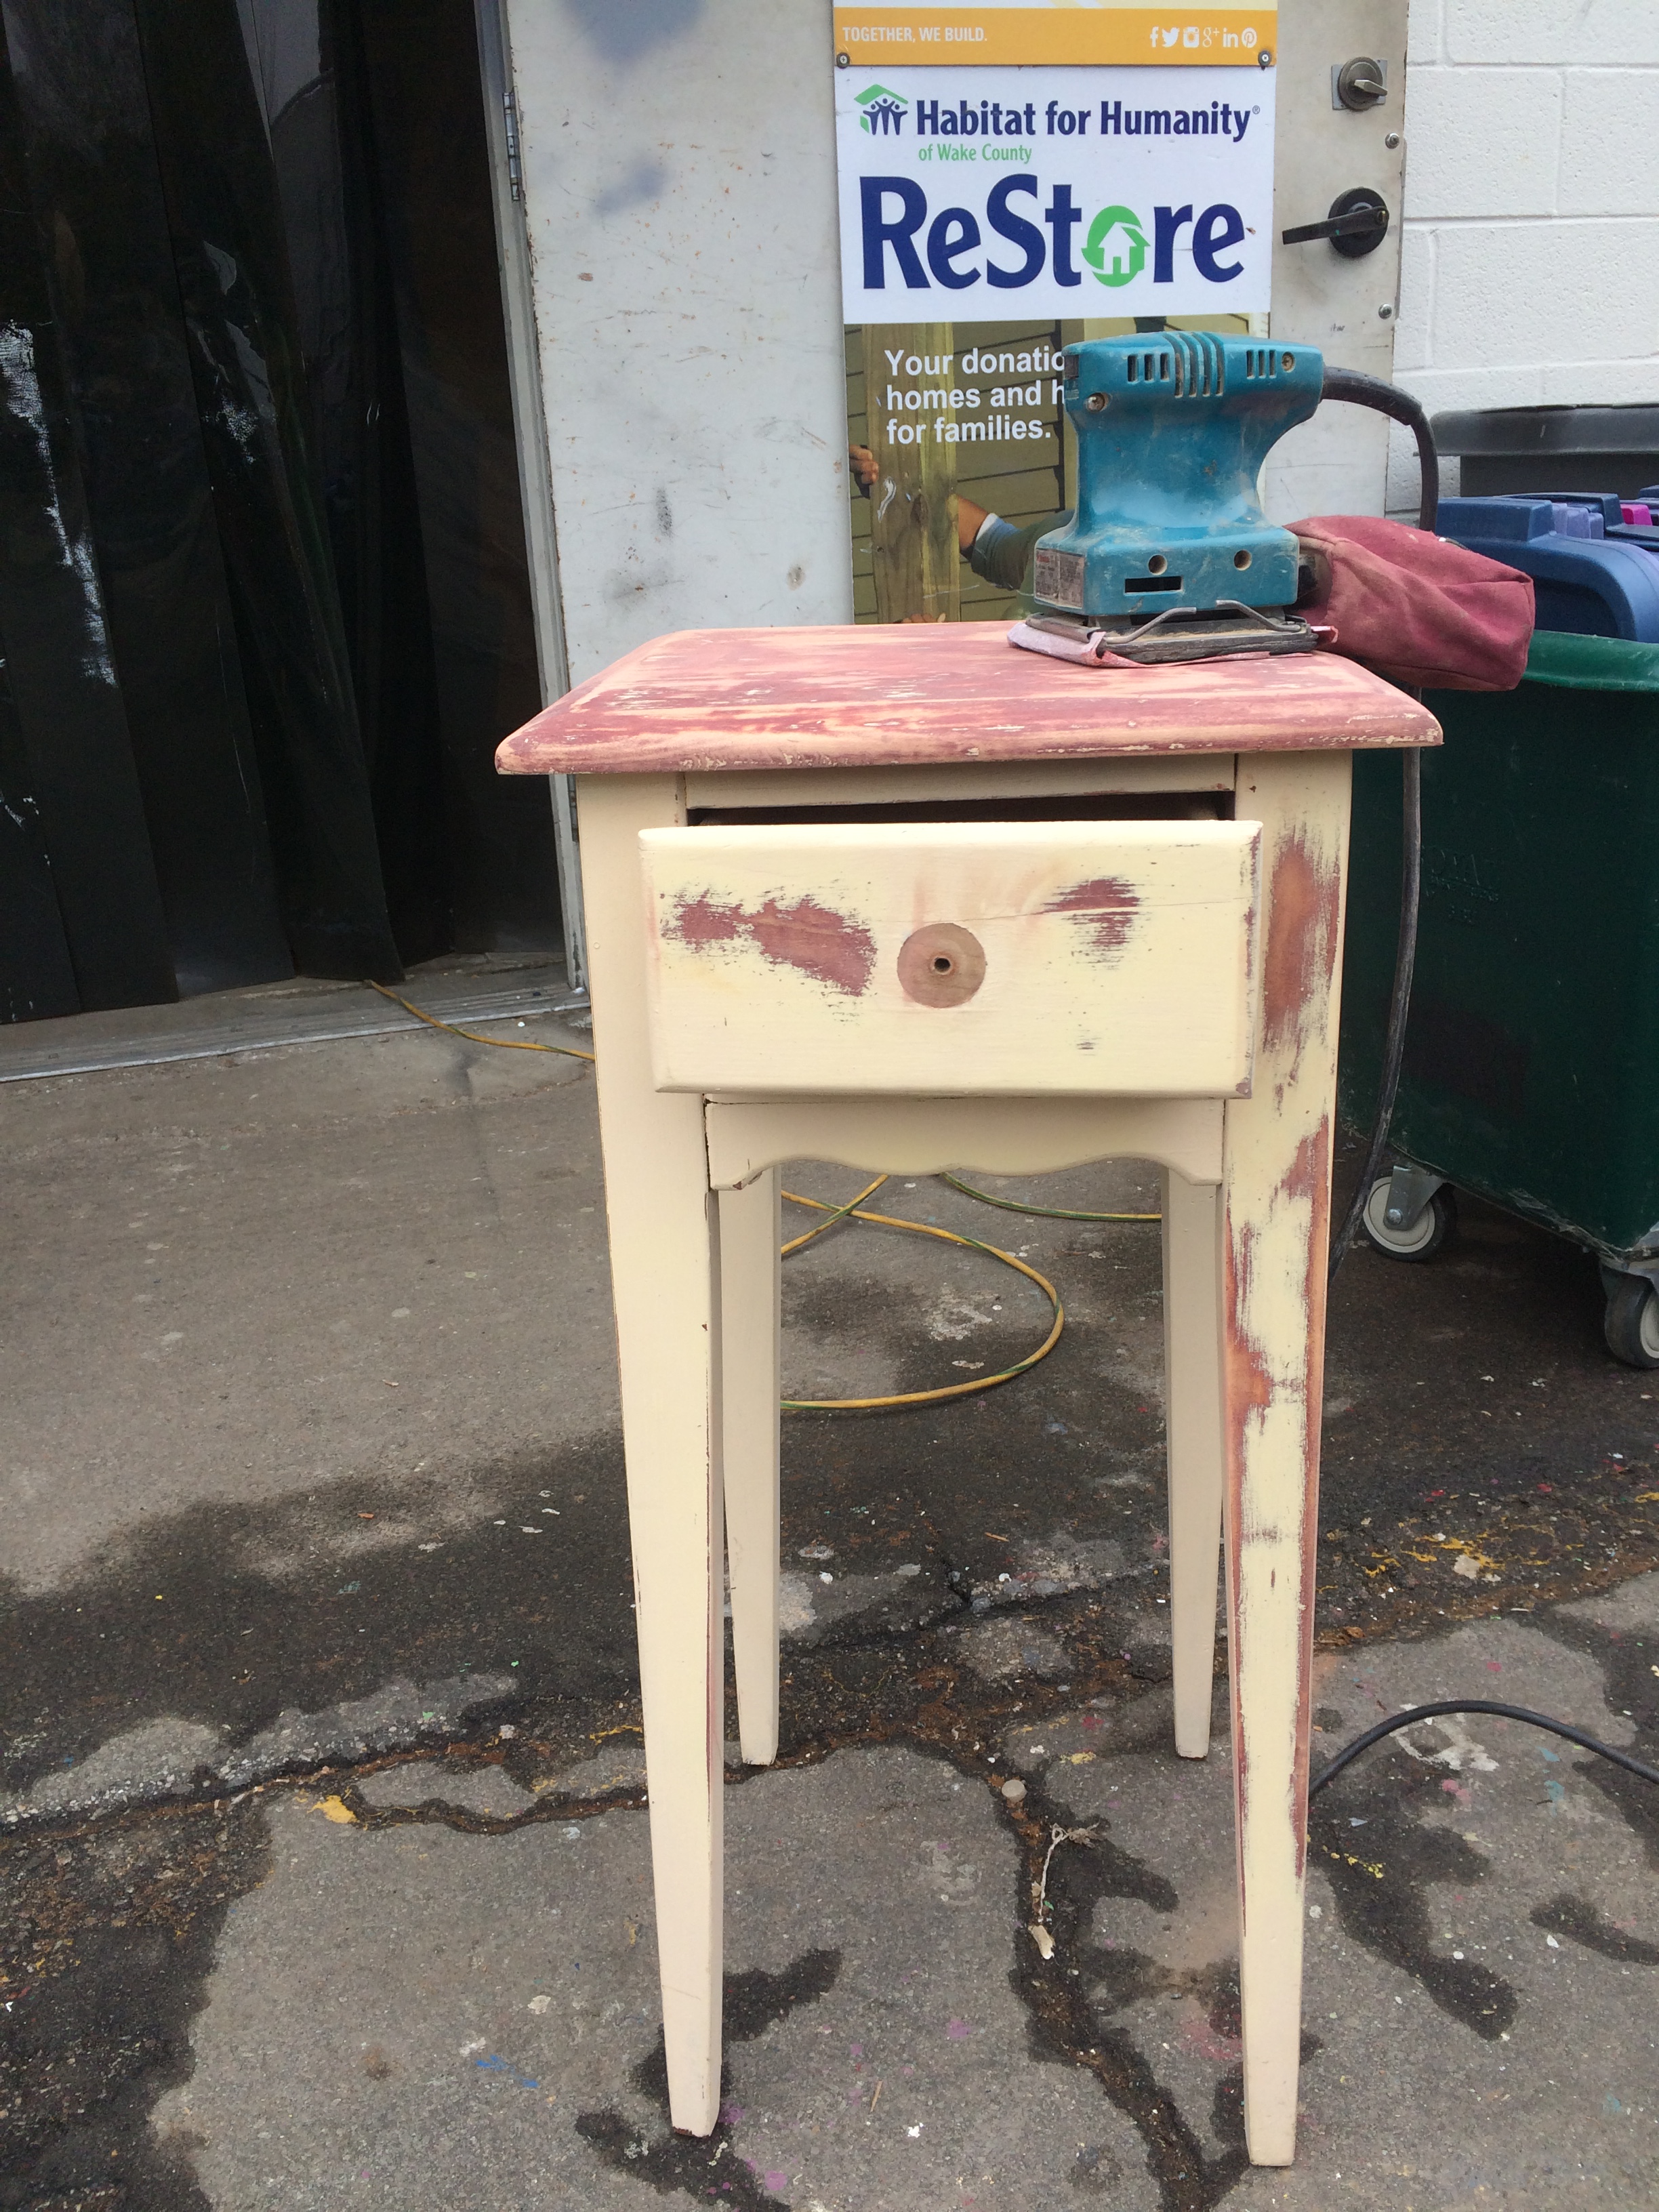
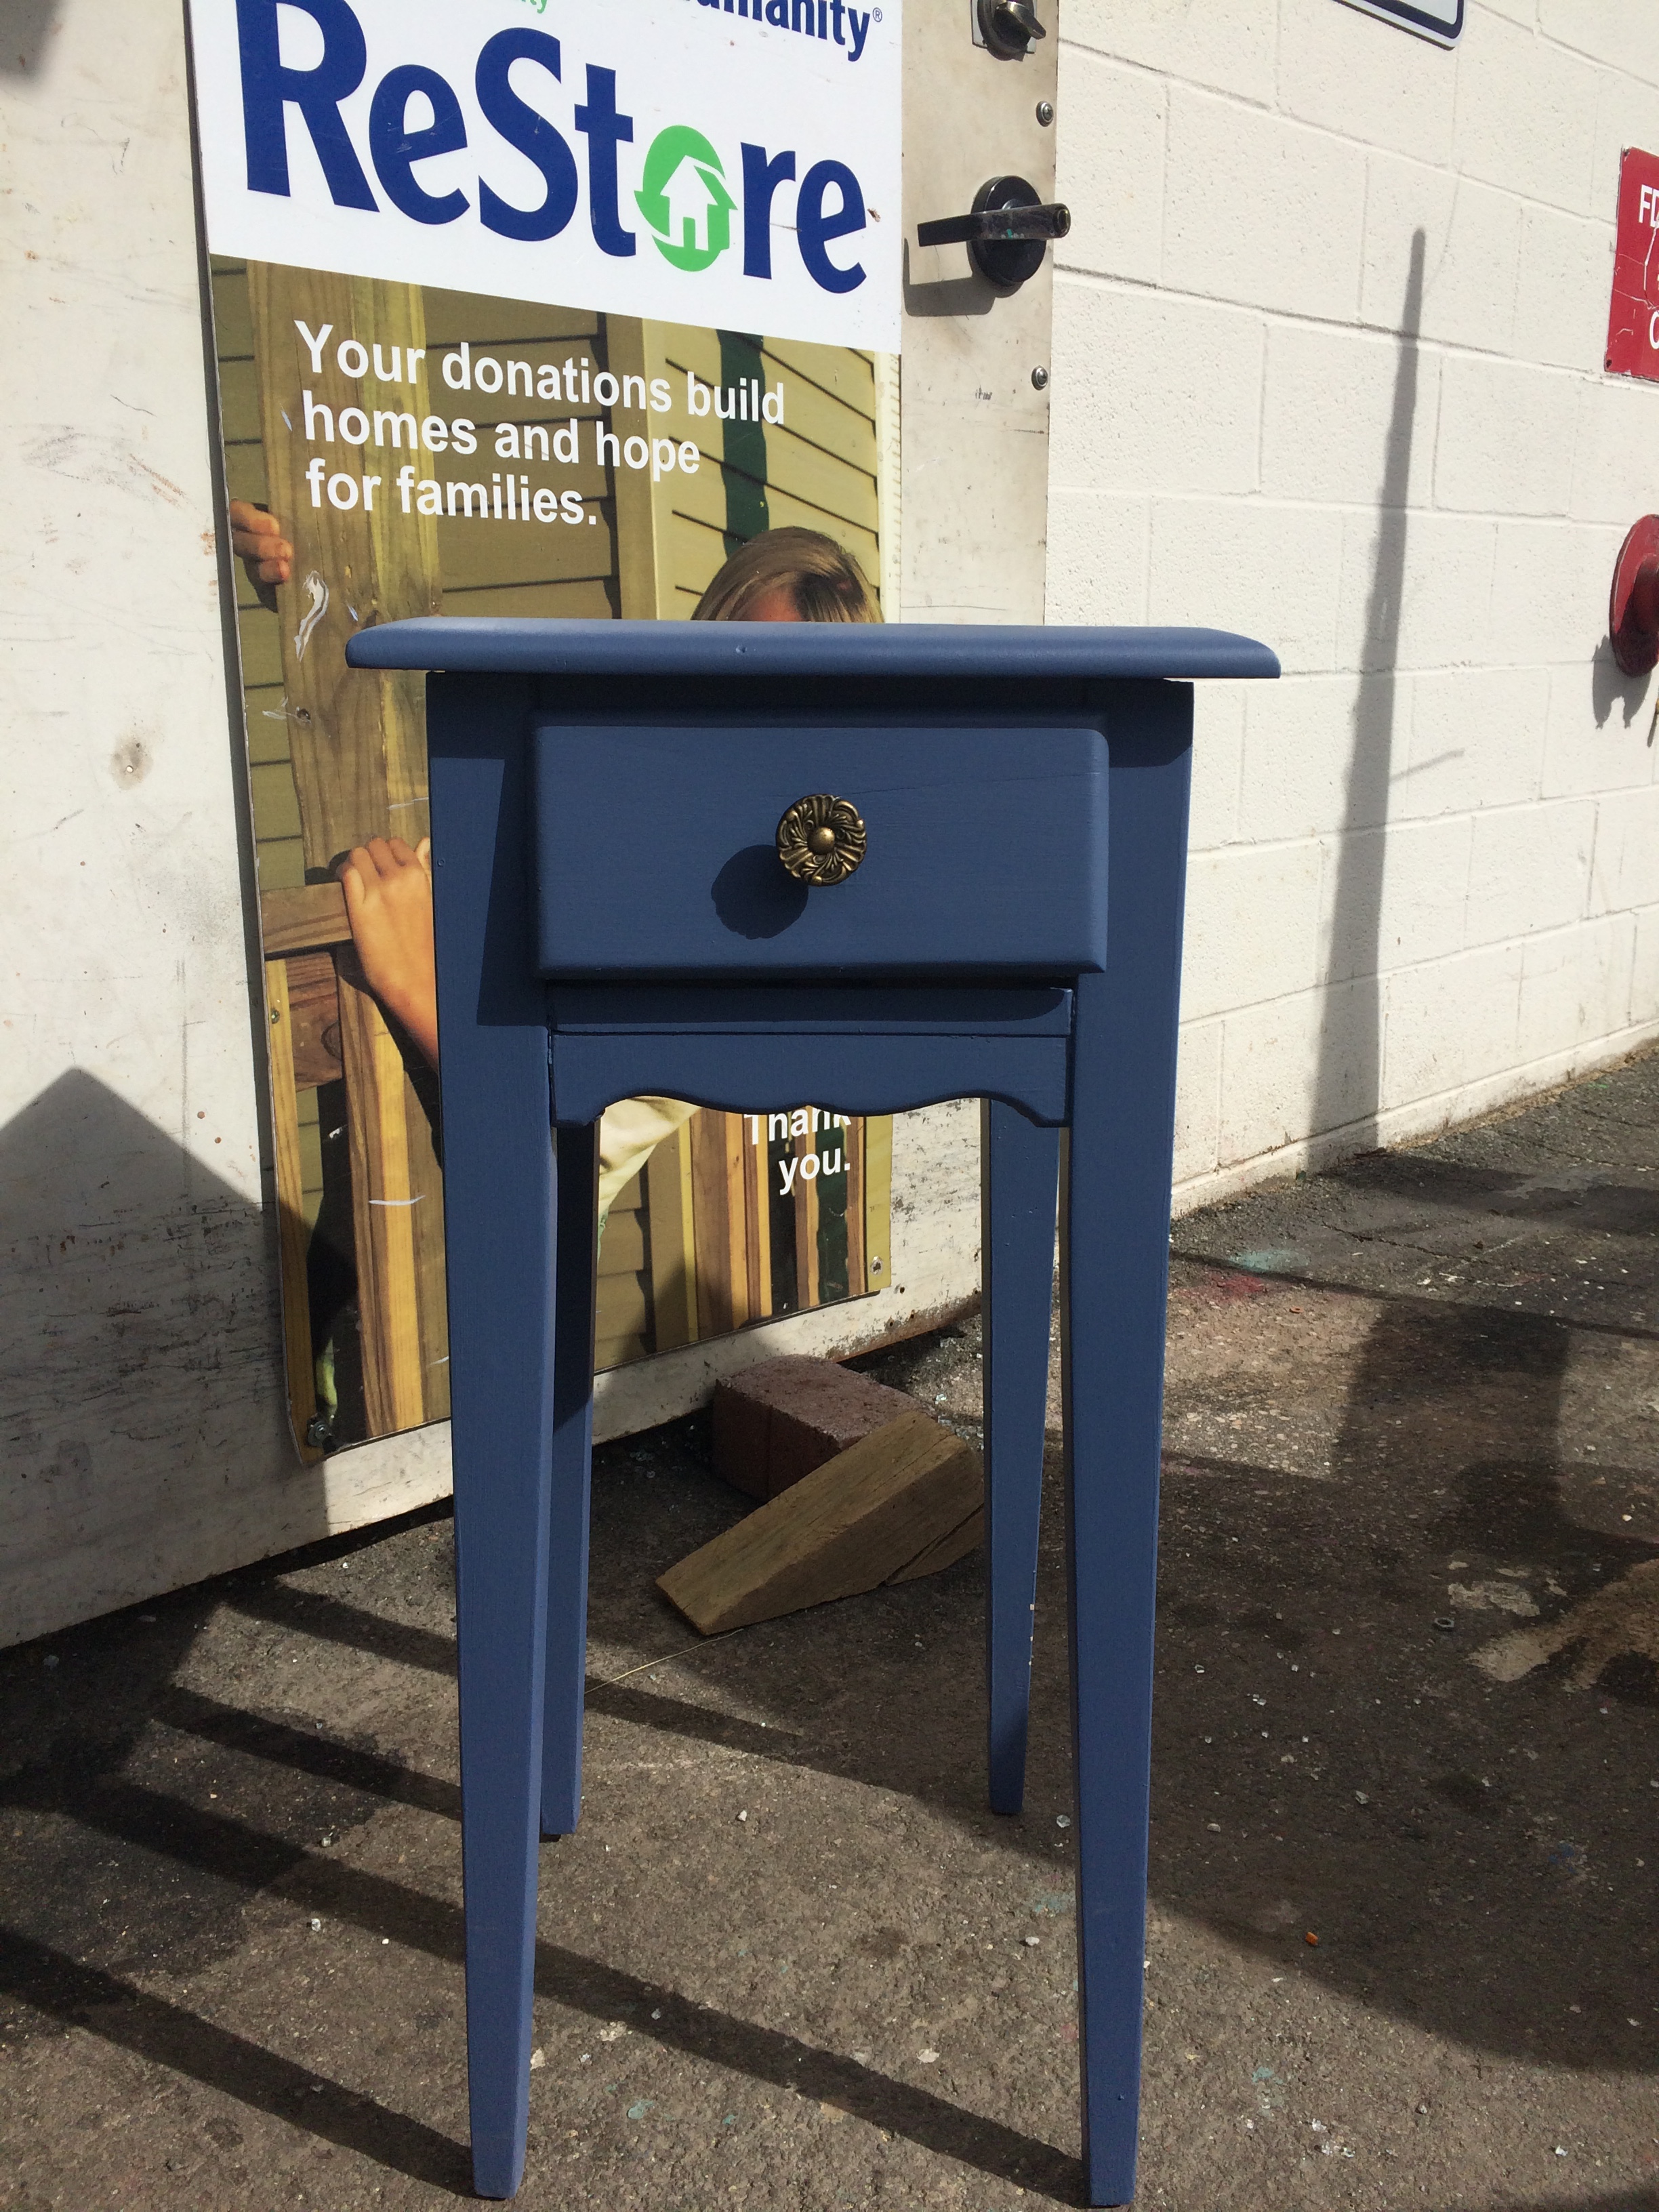
This blog post was written by Briana Gorman, who recently began volunteering at the Cary Store and is an amateur DIY-er. As every good DIY-er knows, sanding is an important step when refinishing any project. It can help revitalize an old dresser or give new life to forgotten pieces of furniture. The Habitat Wake ReStores are full of great items where a little bit of sanding can go a long way. So for all those sanding newbies out there, here are some sanding basics to make sure all your projects turn out looking better than ever.
When to sand?
- The main purpose of sanding is to remove any previous paint or varnish when refinishing a piece of furniture and to smooth over any unwanted scratches
- Depending on the item, you made need to use paint or varnish chemical strippers before you can begin sanding
- Typically if you are just re-painting a piece of furniture it will only requiring sanding. Staining will require chemical stripping.
Picking a paper
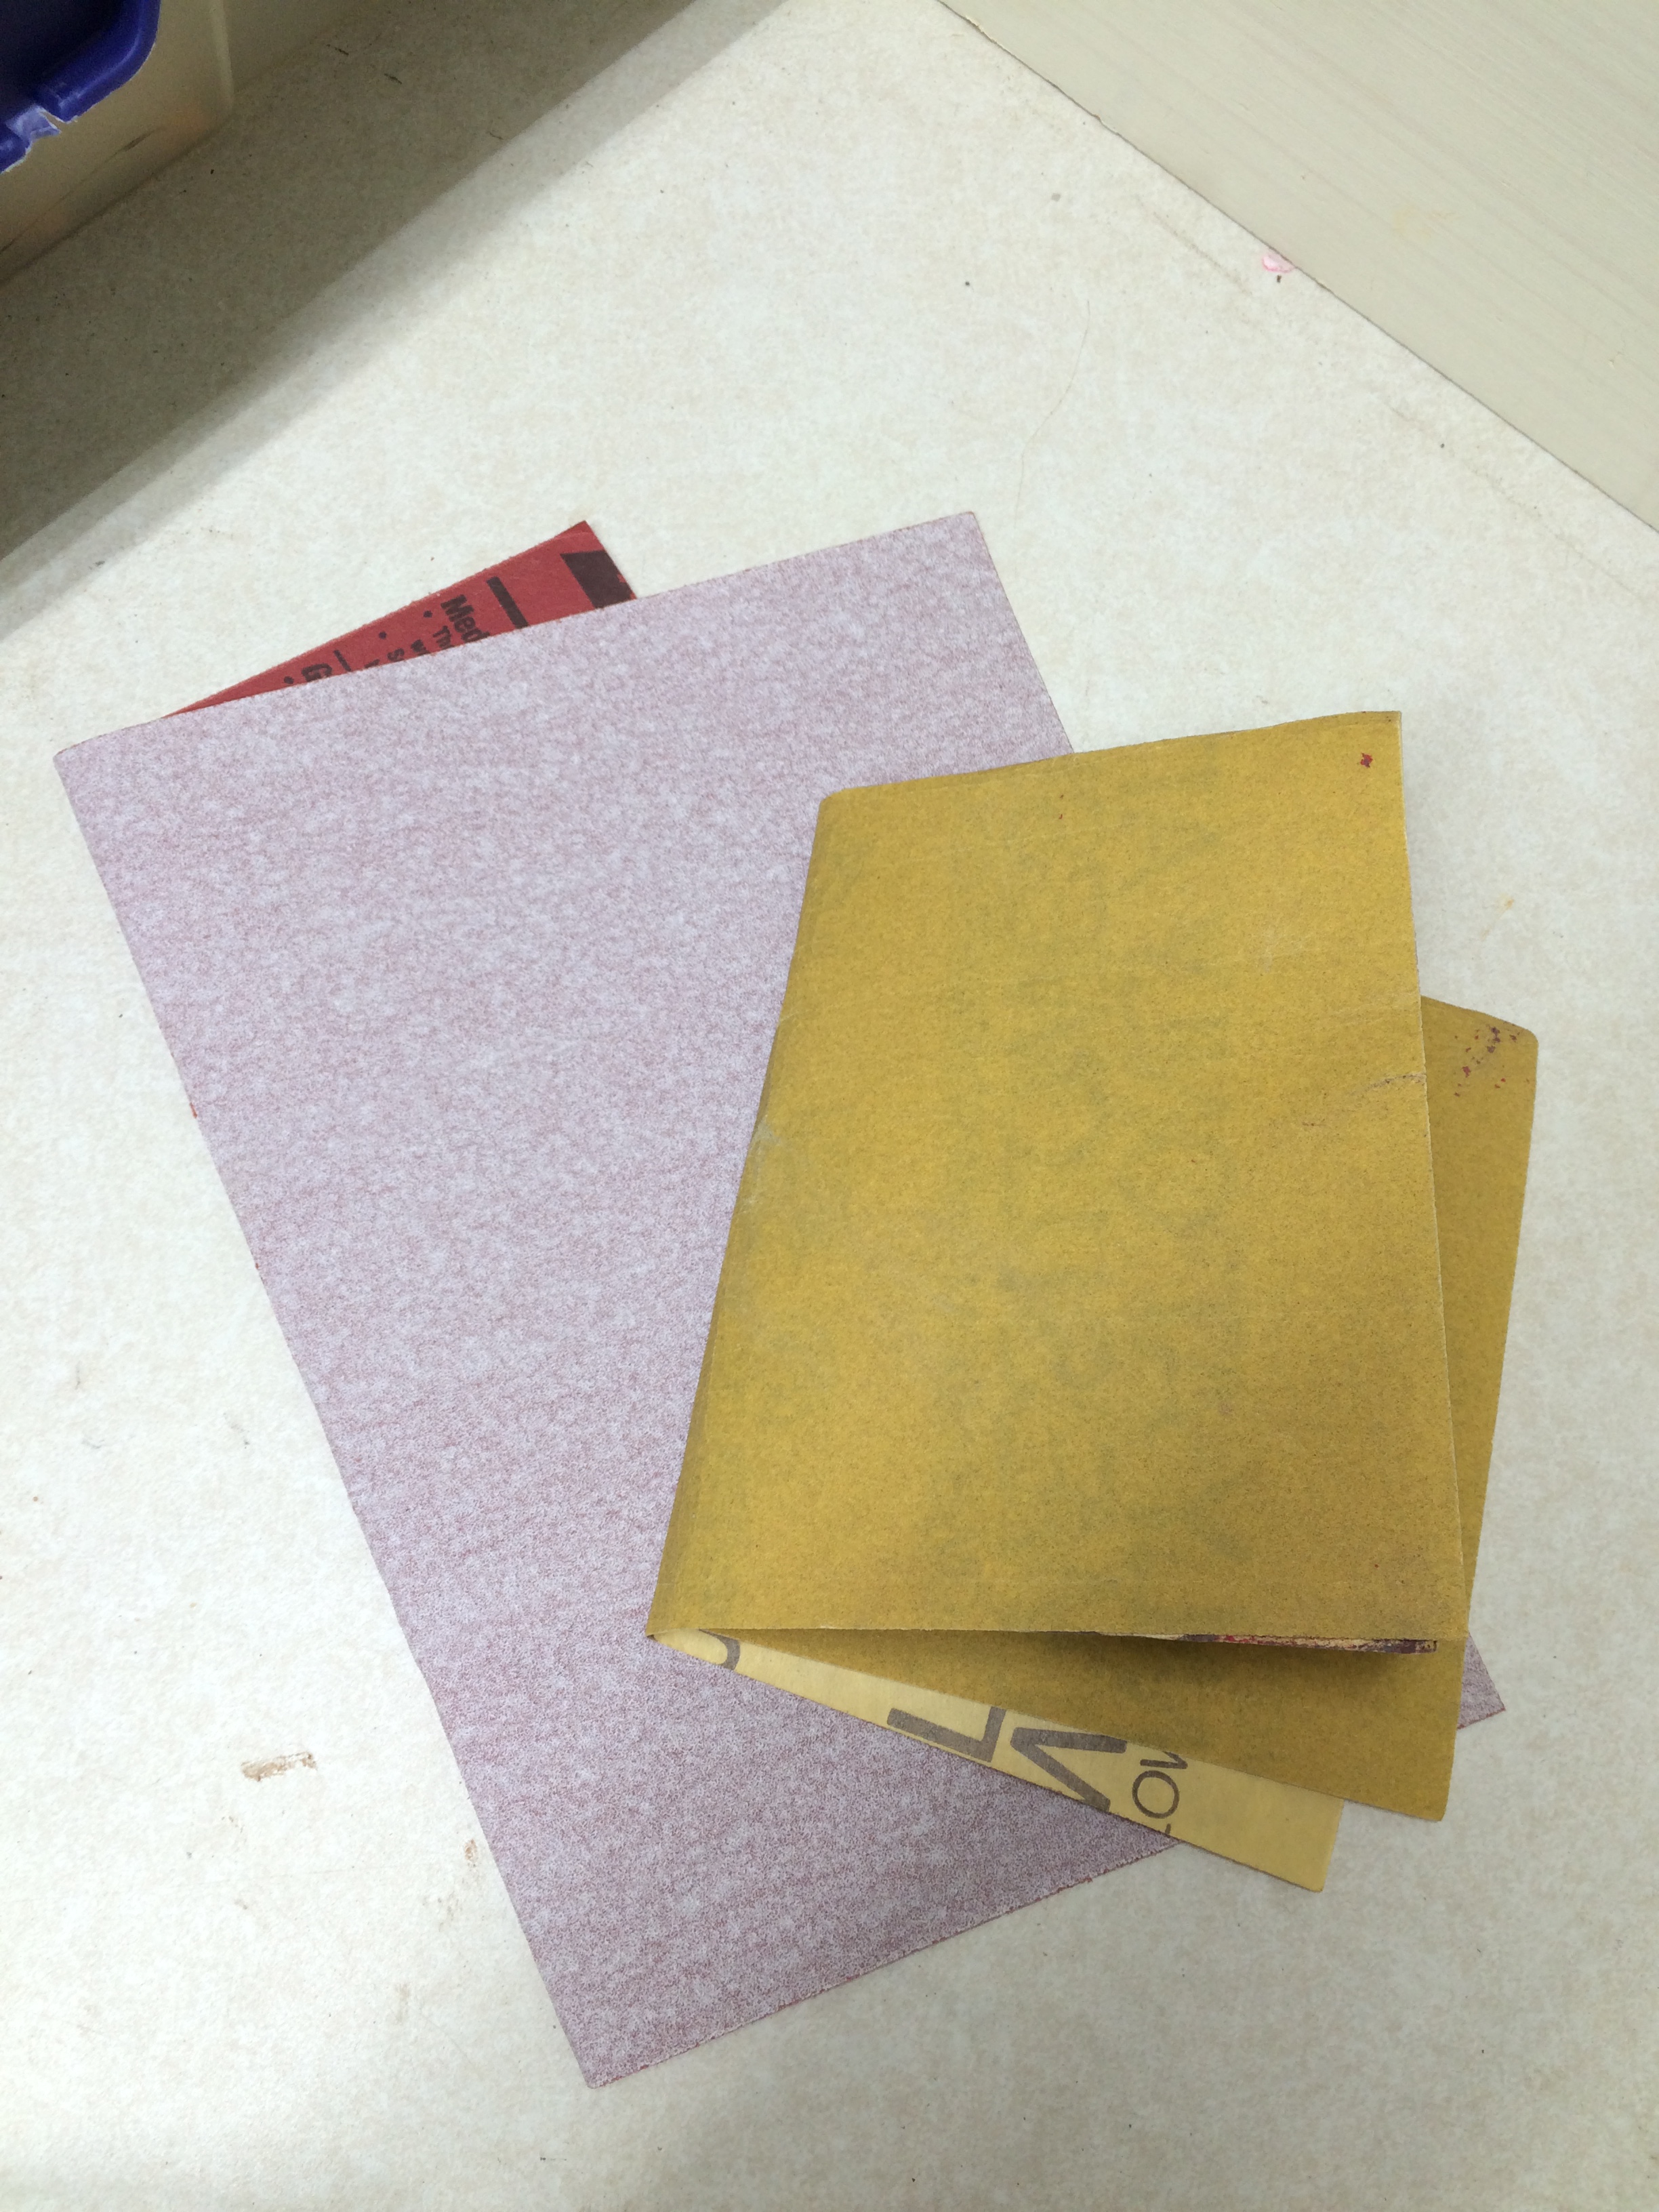
- Sandpaper is categorized by “grit”, which is the number of sand granules per square inch of paper. The lower the number the more abrasive the paper, while higher numbers indicate a finer finish.
- For most projects for household objects, sandpaper with grit number between 60 and 220 will suffice.
- In general, start with the coarser paper to remove material faster and work your way up to the higher numbered paper for a polished finish.
- The finer paper is also ideal for using on corners and smoothing out unique shapes or designs in furniture.
Sanding method
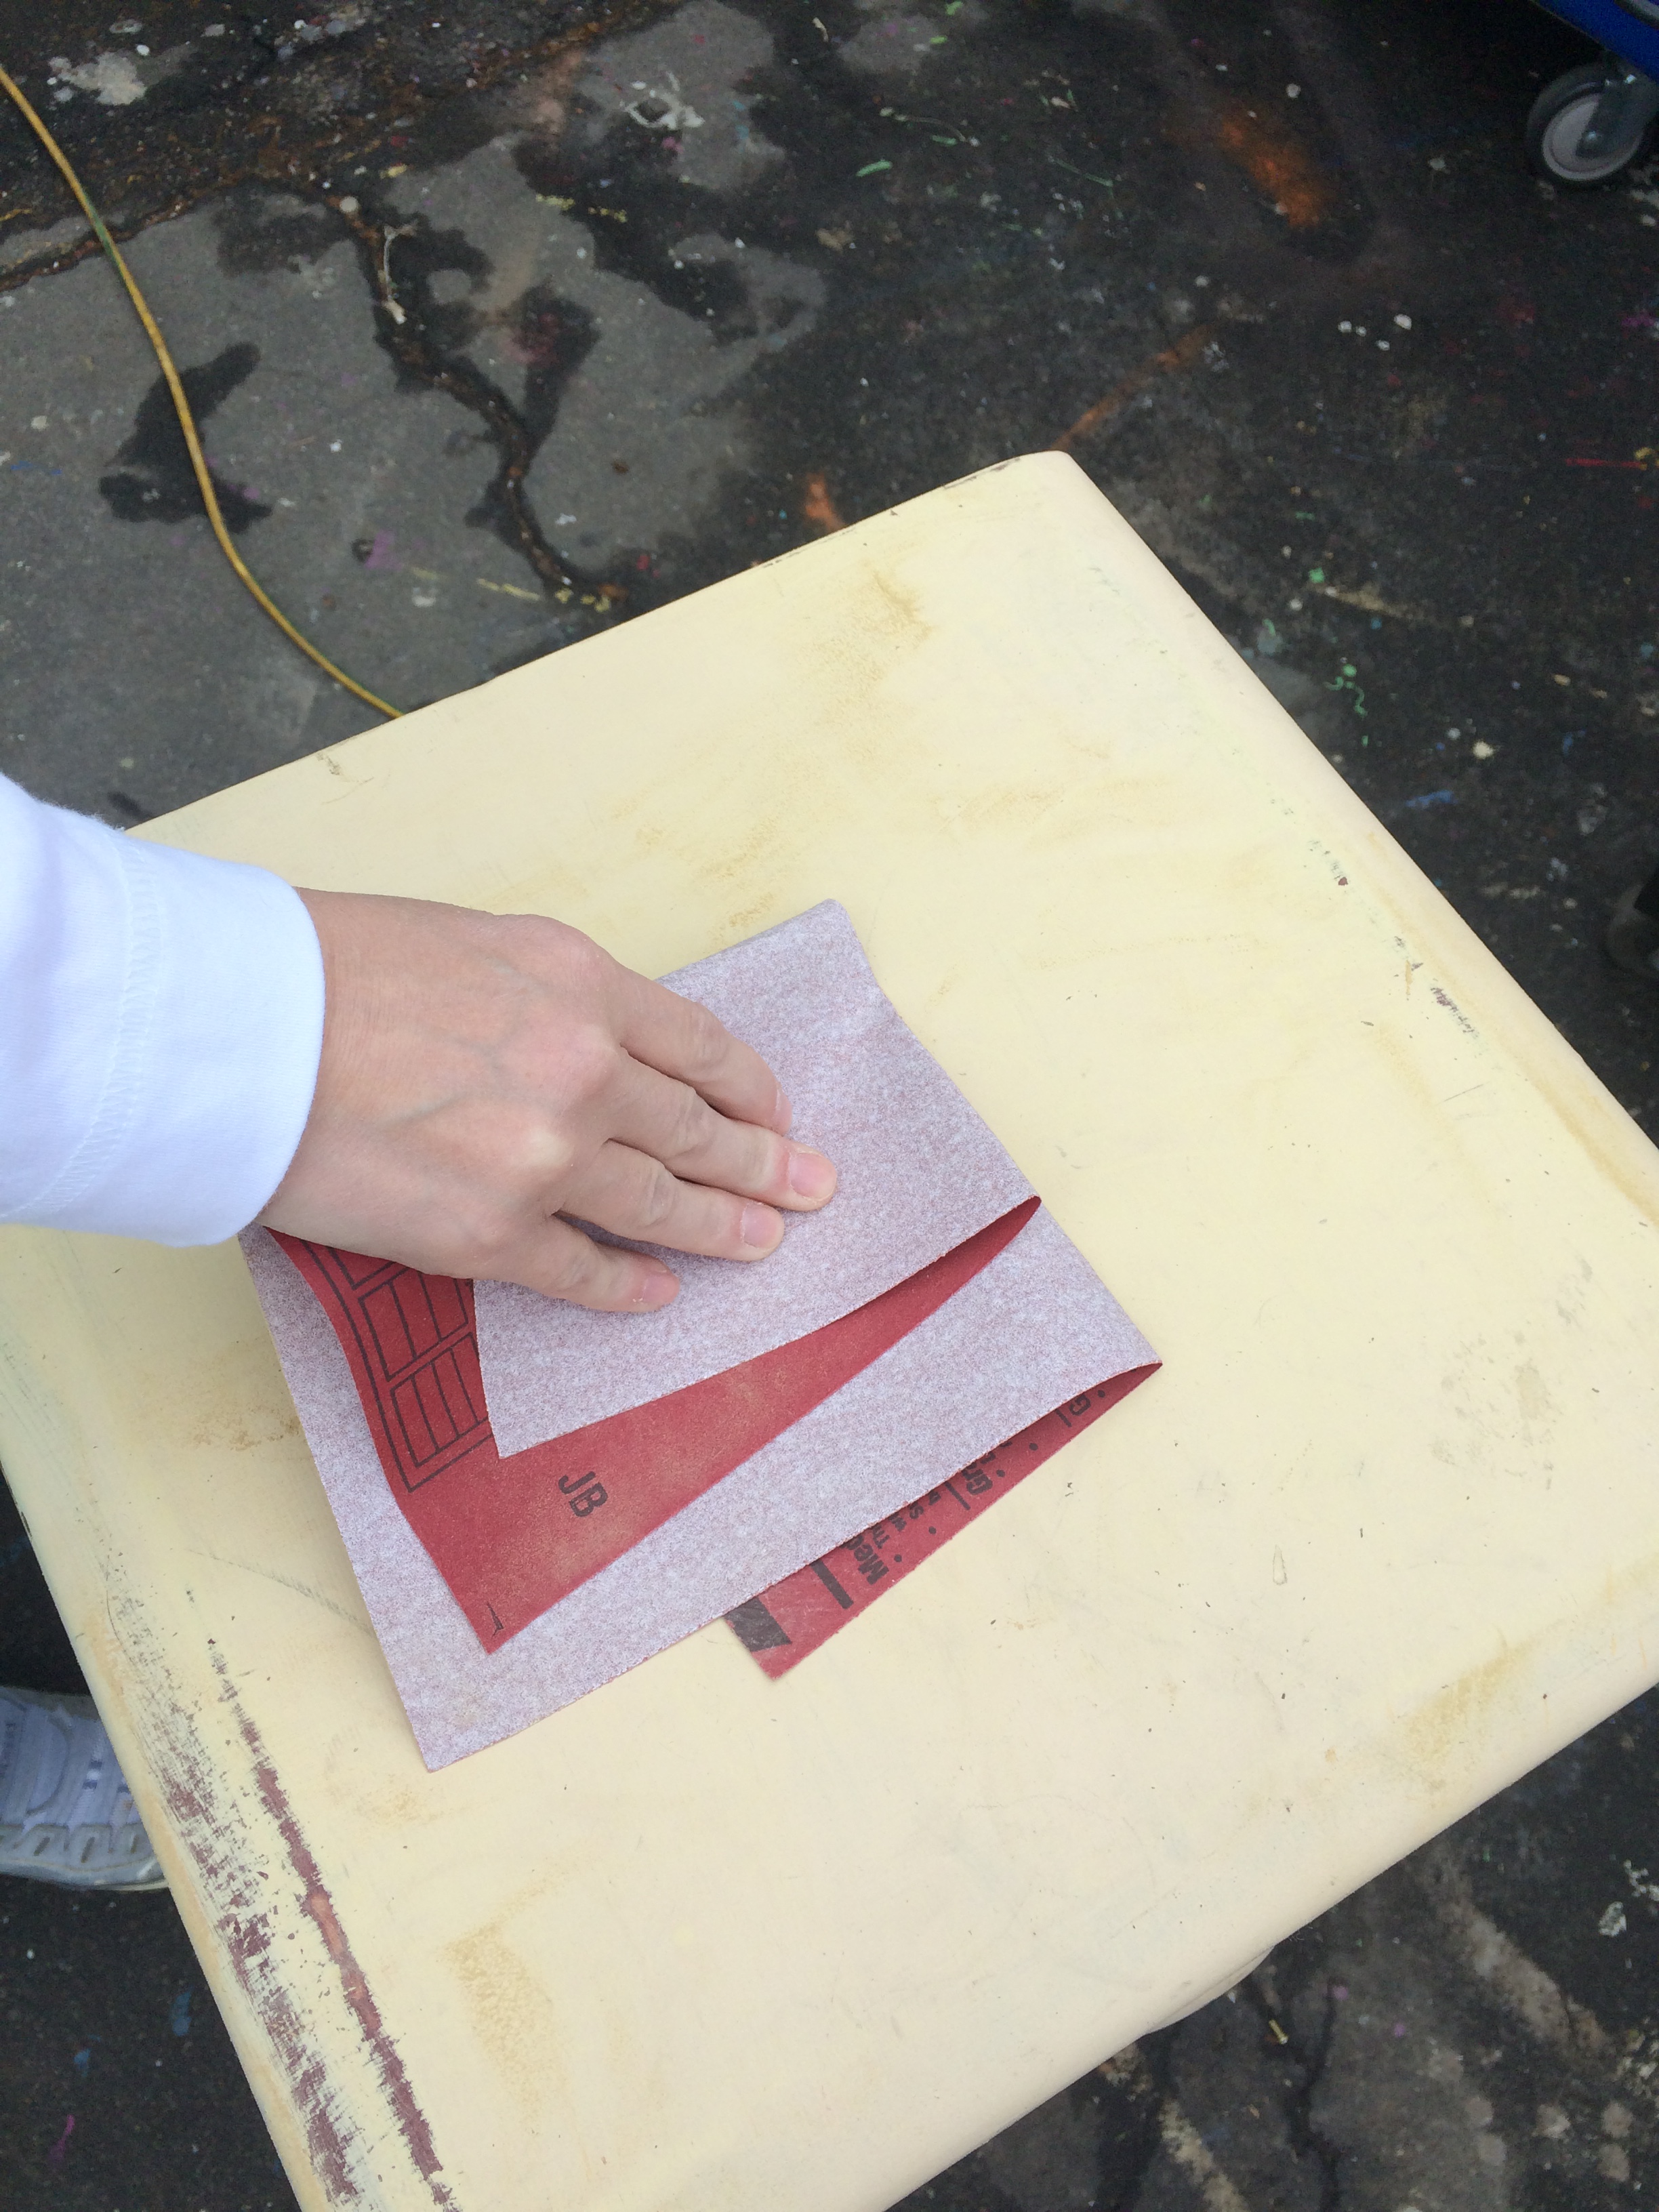
For household projects, there are two main types of sanding methods. The choice depends on the type of piece, the size of the piece and the amount of time you want to spend sanding.
- Hand sanding – This method is self-explanatory as it involves using a piece of sandpaper to sand furniture by hand. Sanding by hand gives you total control of whatever you are sanding, but it can be a time-consuming process.
- Orbital sander – This handheld tool is commonly used for household projects and consists of a small circular disc covered in sandpaper. The orbital sander is ideal for large, flat surfaces as it allows you to quickly sand an item. You will still need to sand hard to reach corners by hand, however.
Sanding tips
- This one might seem a bit obvious but it's worth stating out loud. The best place to do your sanding project is outside. Sanding is messy business and you don't want all that dust in your house.
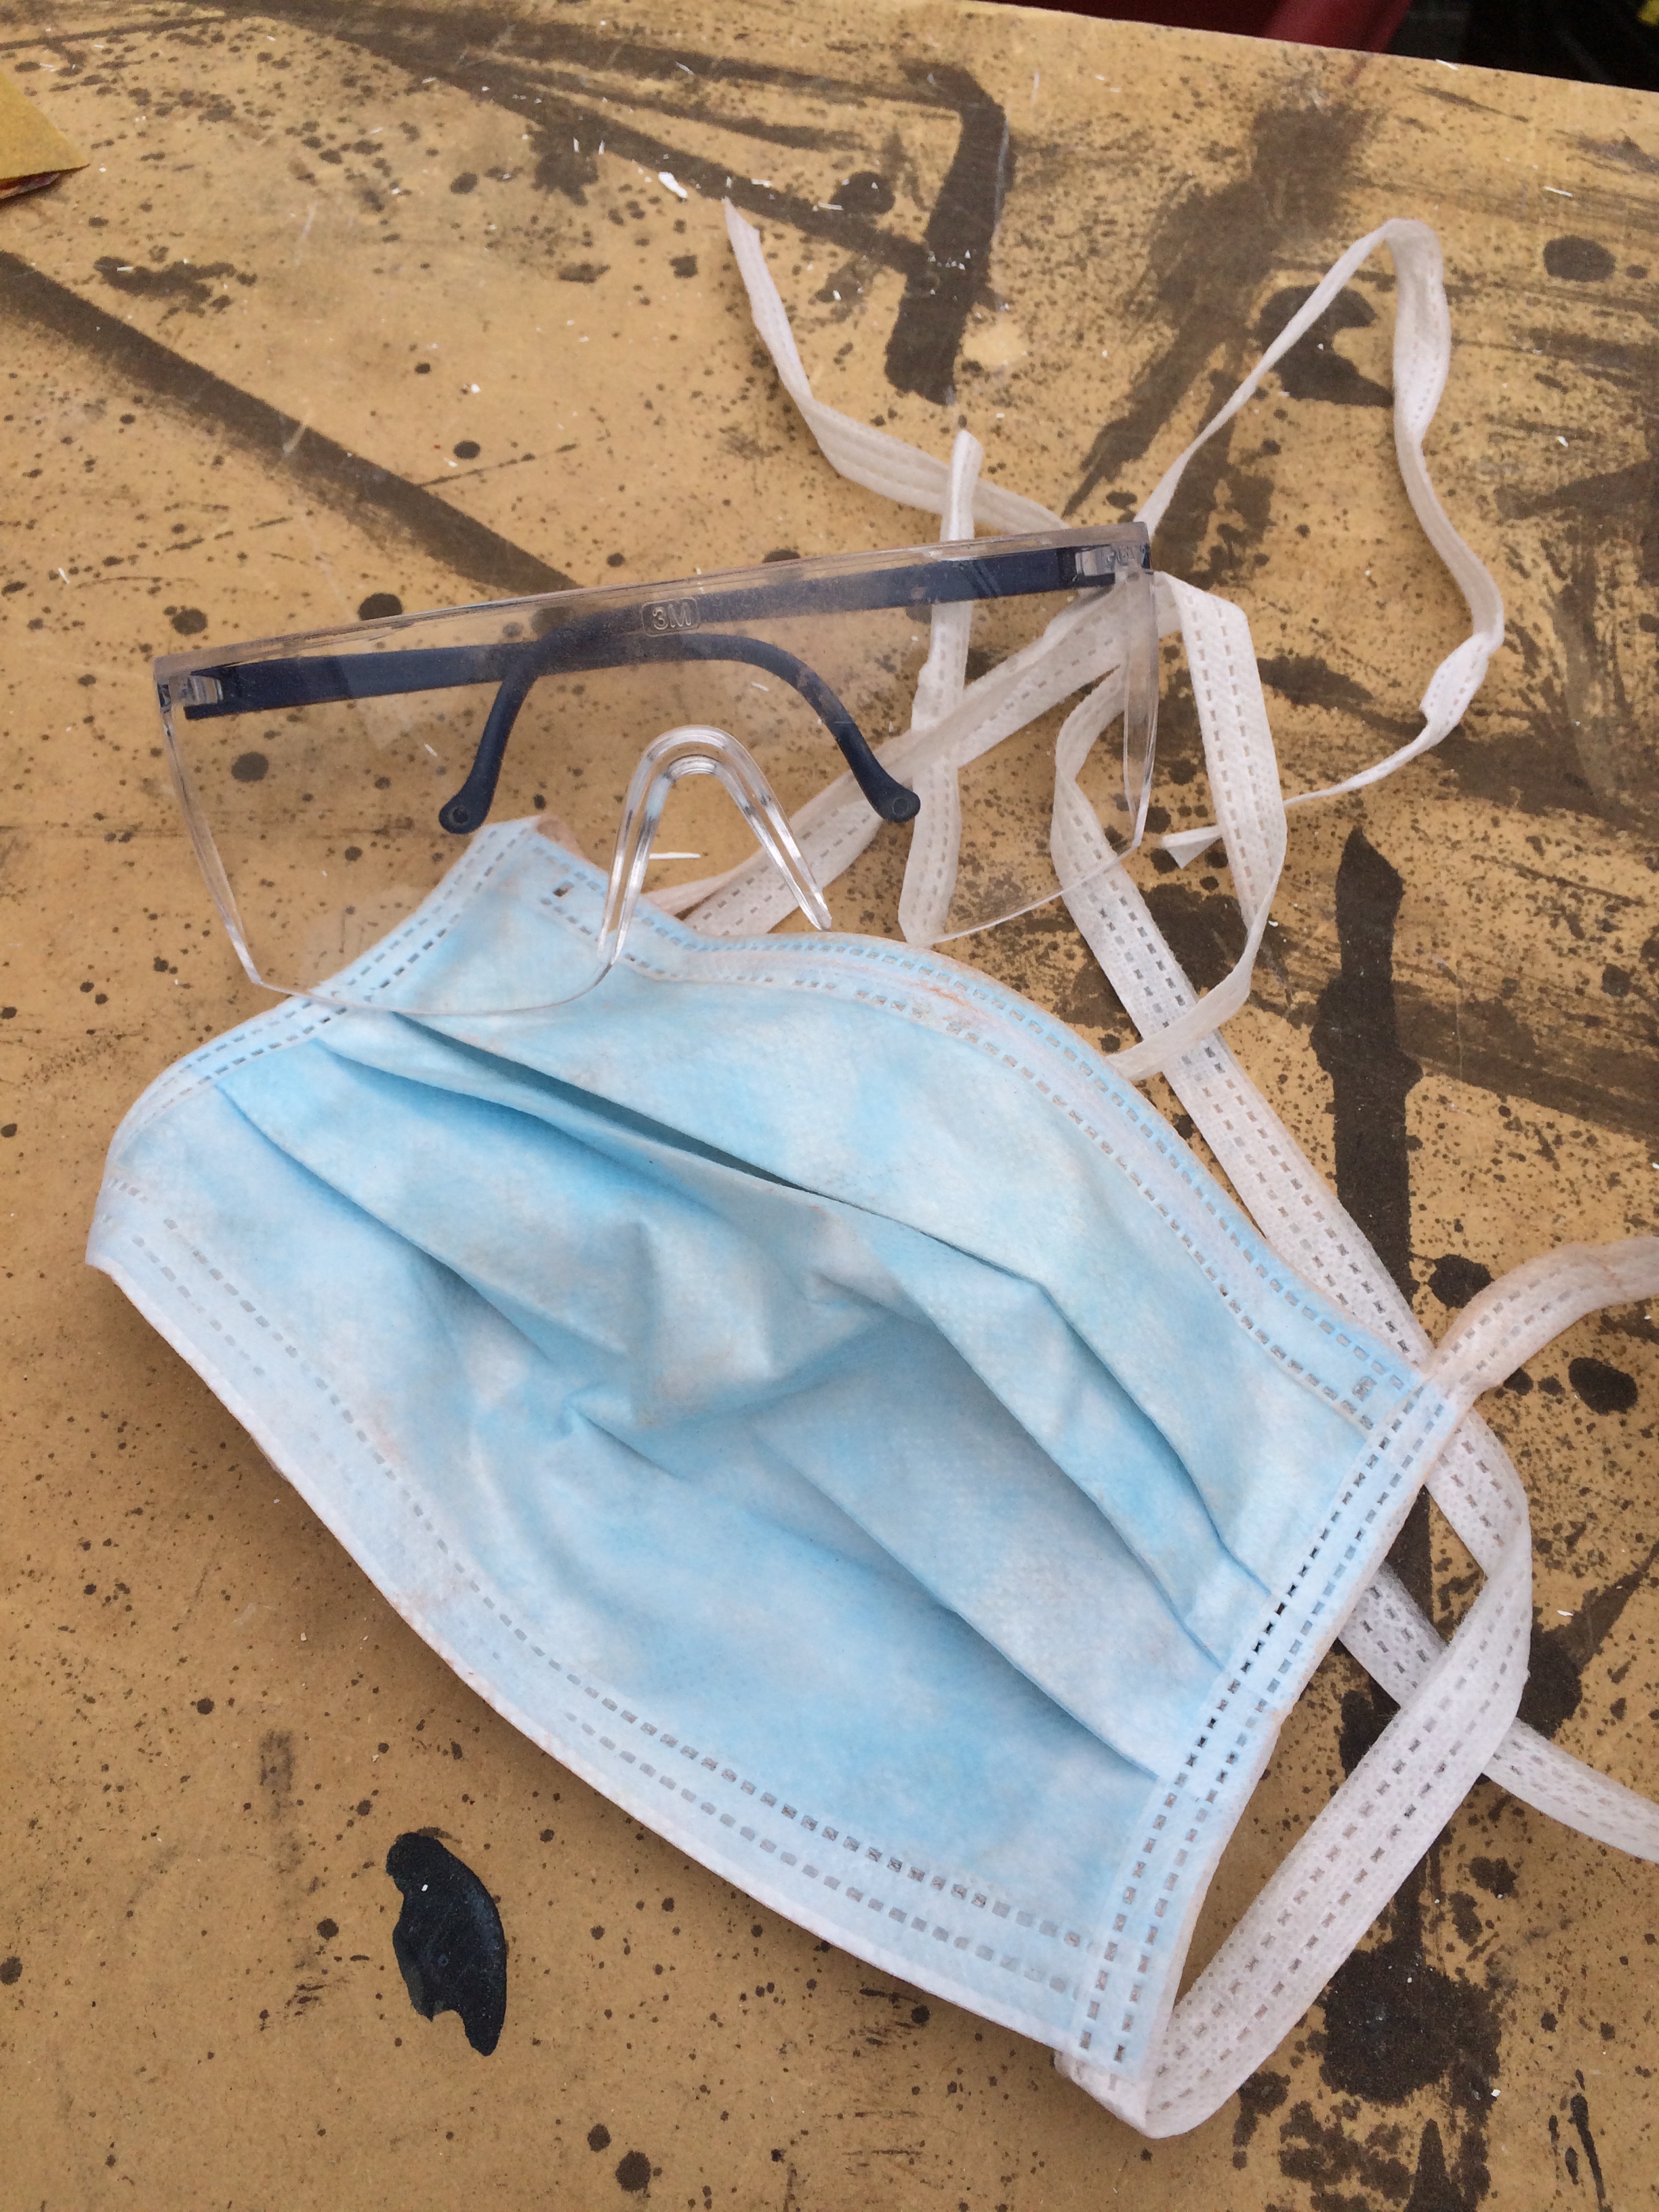
- Safety first. Always make sure you wear a mask and some eye protection when sanding. Just as you don’t want that dust in your house, you don’t want that dust in your body!
- Be sure to always sand in the direction of the grain. Sanding across the grain will be noticeable after you apply the finish and it does not look good. Trust me!
- After you finish sanding, be sure to remove all dust from the surface of the piece before applying paint or stain as you don’t want any rough patches. A damp cloth or a tack cloth are the best methods to ensure the dust is entirely removed.
Happy sanding y’all!
Topics: